 Feedback
How to take a screenshot on a Mac
macOS has screenshot shortcuts built in. Here's every one, where the files go, and how to capture and mark up a shot faster with Feedback.
The built-in shortcuts
| ⇧⌘3 | The whole screen. |
| ⇧⌘4 | Drag to capture an area. |
| ⇧⌘4 then Space | Click a window to capture just that window, with its shadow. |
| ⇧⌘5 | The screenshot toolbar: capture modes, screen recording and options. |
Add Control to any of these (for example ⌃⇧⌘4) to copy the screenshot to the clipboard instead of saving a file.
Where screenshots are saved
By default they go to your Desktop, named "Screenshot" with the date and time. To change it, press ⇧⌘5, click Options and choose another folder under Save to.
After a capture, a thumbnail appears in the bottom-right corner for a few seconds. Click it to mark up the shot, or drag it straight into another app.
A faster way with Feedback
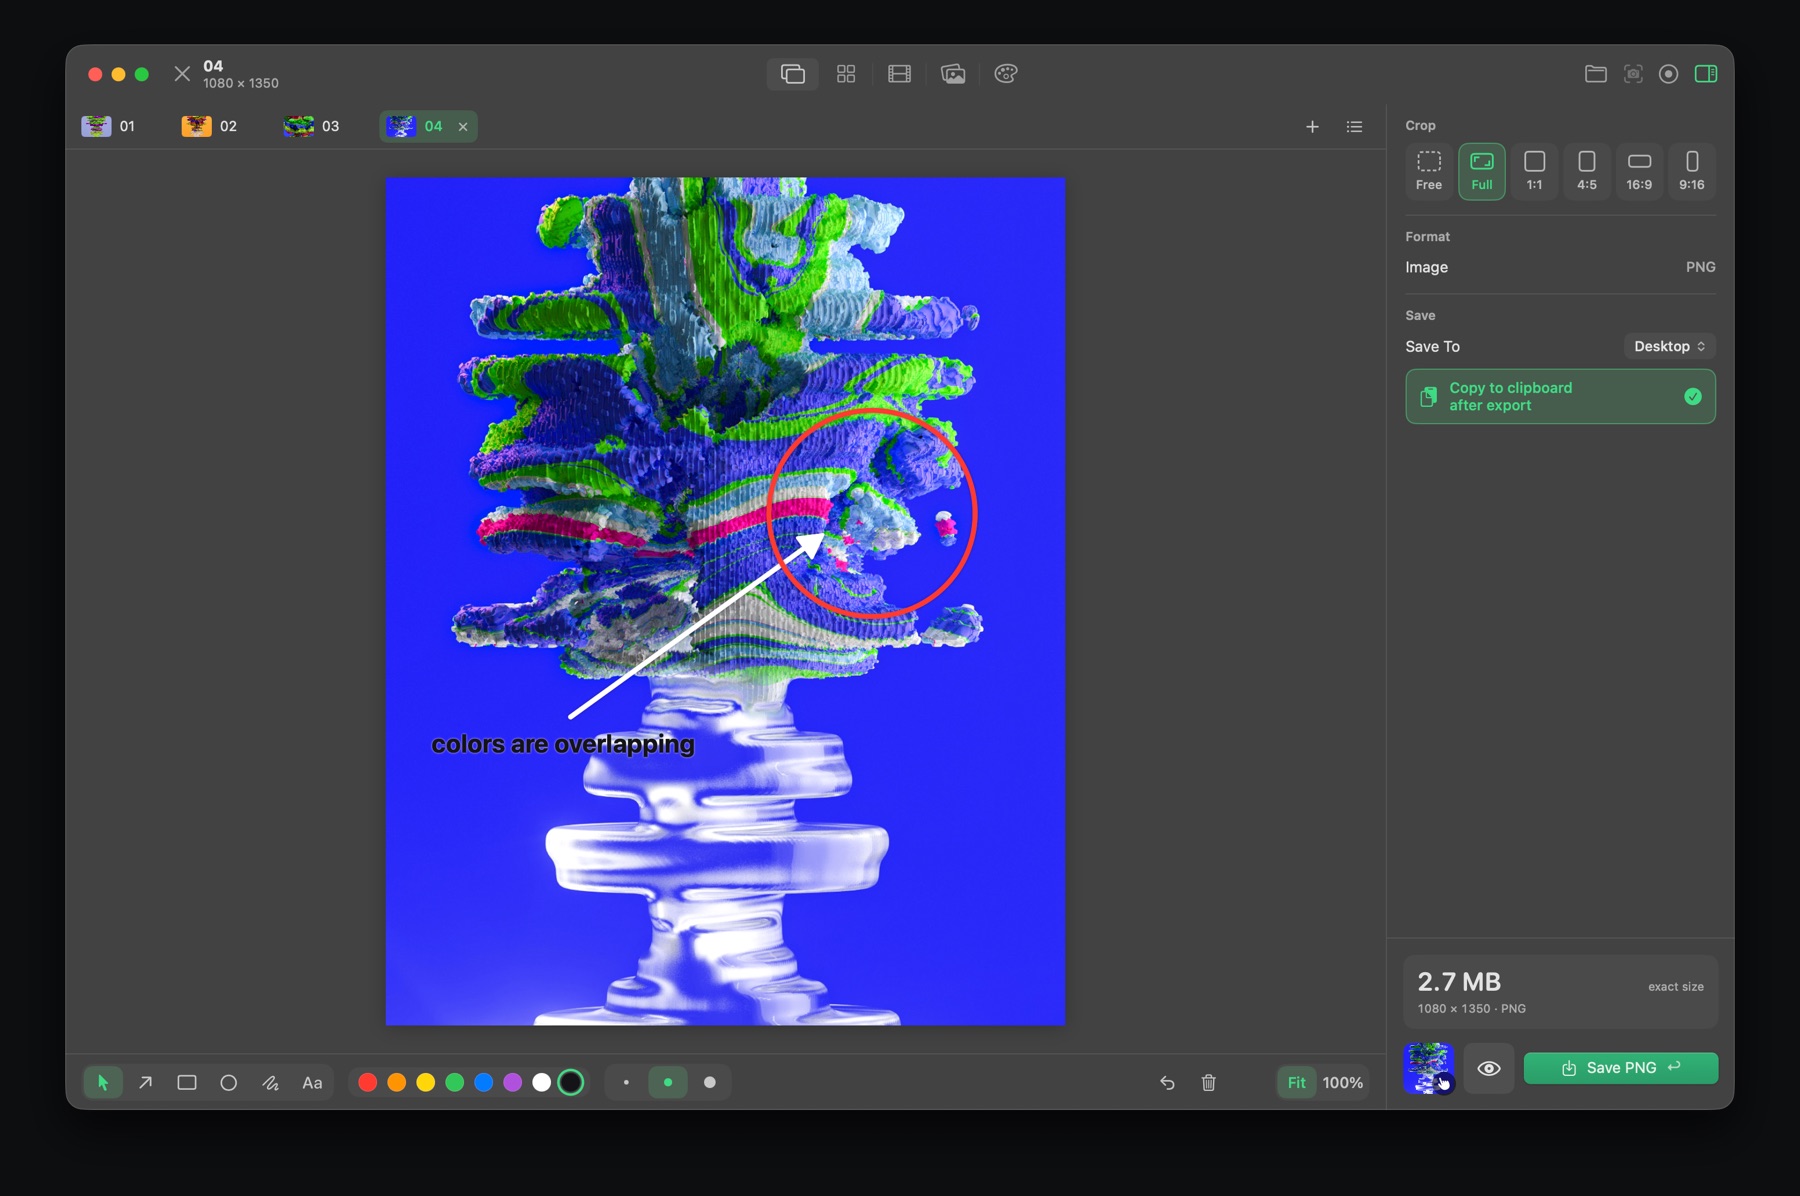
Feedback is a free Mac app built around this. Press ⌥⇧S in any app and drag over an area. The shot opens ready to mark up with arrows, boxes, circles, a pen and text, and one key saves it and copies it to the clipboard, ready to paste into Slack, Mail or Figma.
- A corner preview you can drag into any app.
- Choose whether captures open in the editor or are saved and copied right away.
- Every capture becomes a tab, and screenshots can become a storyboard.

Feedback for Mac
Screenshots, markup, screen recording, GIFs, storyboards, reference boards and color palettes in one small, fast app. Free to download.
Download on the Mac App StoreQuestions
What's the shortcut for a screenshot on a Mac?
Shift-Command-3 captures the whole screen, Shift-Command-4 captures an area, and Shift-Command-5 opens the screenshot toolbar.
How do I copy a screenshot instead of saving it?
Add Control to the shortcut, for example Control-Shift-Command-4. The screenshot goes to the clipboard and you can paste it anywhere.
How do I change where Mac screenshots are saved?
Press Shift-Command-5, click Options, and pick a folder under Save to.