 Feedback
How to screen record on a Mac
macOS can record the screen without any extra apps. Here's how, plus how to trim the recording and share it as a GIF.
With the screenshot toolbar
- Press ⇧⌘5.
- Choose Record Entire Screen or Record Selected Portion.
- Click Record.
- To stop, click the stop button in the menu bar, or press ⌃⌘Esc.
The recording is saved as a .mov file, on your Desktop unless you changed it in Options. QuickTime Player can do the same with File › New Screen Recording.
If recording doesn't work
Open System Settings › Privacy & Security › Screen & System Audio Recording and make sure the app you're using is turned on. If it already is, turn it off and on again, then reopen the app.
Record, trim and share with Feedback
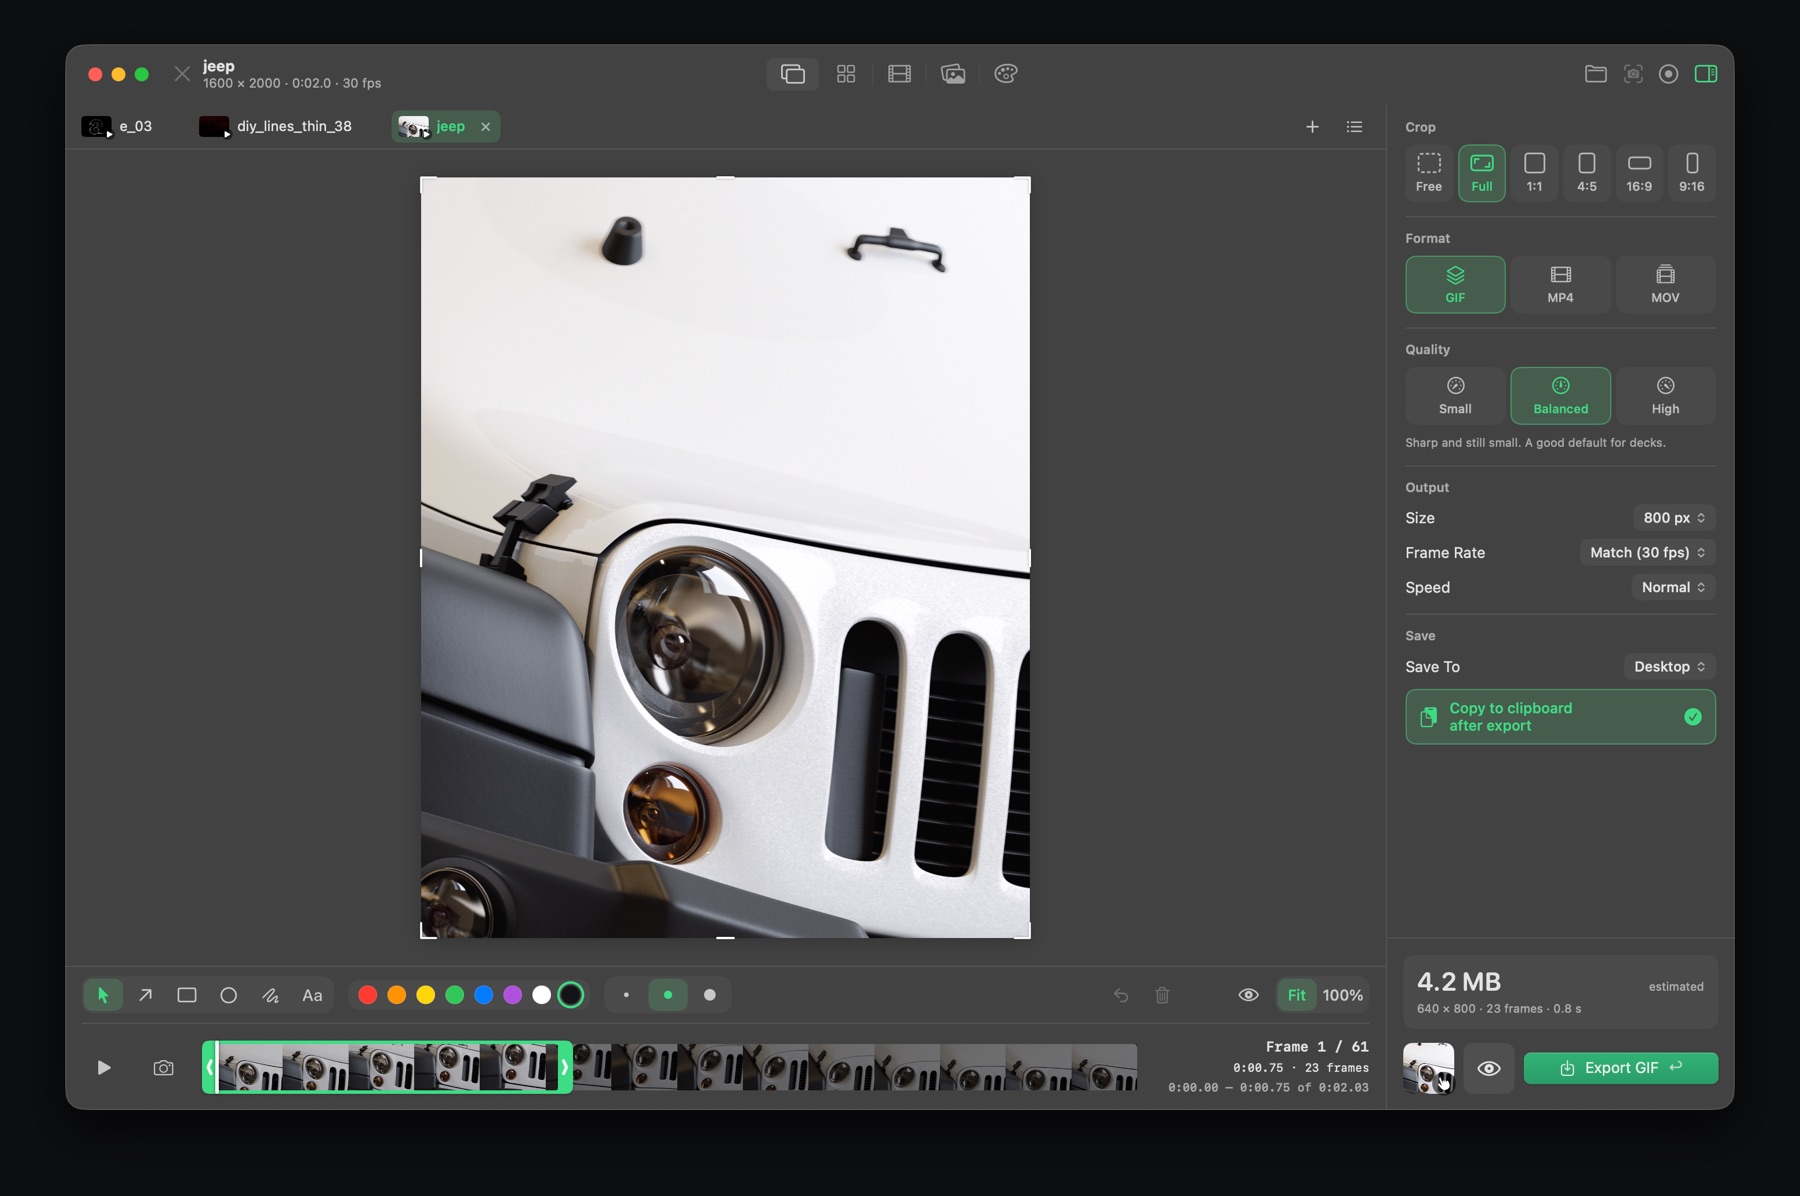
In Feedback, press ⌥⇧D from any app, choose the area, and press it again to stop. The recording opens with a trimmer underneath, so you can cut it down and export straight away as a GIF, MP4 or ProRes MOV, with a live estimate of the file size.
Recording and exporting are free; exports from the free version carry a small watermark that Feedback Pro removes.

Feedback for Mac
Screenshots, markup, screen recording, GIFs, storyboards, reference boards and color palettes in one small, fast app. Free to download.
Download on the Mac App StoreQuestions
How do I stop a screen recording on a Mac?
Click the stop button in the menu bar, or press Control-Command-Escape.
Where do Mac screen recordings go?
To the Desktop by default, as .mov files. You can change the folder in the Shift-Command-5 toolbar under Options.